Information for 3G Shutdown

How To

Install Your Zubie Dashcam

If you already have a Zubie account configured, skip to the instructions below. Otherwise, please click “Set Up Your Account” below.

Get Started

Parts Needed to Install

The installation process for your Zubie Dashcam is really very simple – it should take you no longer than a few minutes.

First, make sure the box has all the parts you’ll need. For each device, you should have 

  1. One six foot OBD-II cable
  2. A MicroSD Card
  3. A set of cable clips
  4. An alcohol wipe for cleaning the dashboard
  5. A dashboard / window mount
  6. The dashcam device

Step 1

Installing the Memory Card

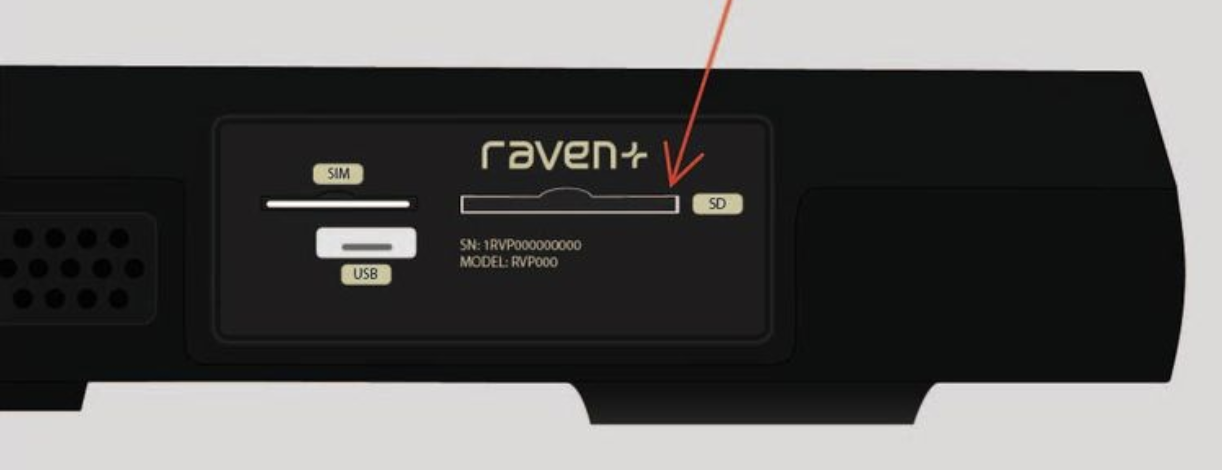
To get started, place the MicroSD card in the labeled slot on the bottom of the device. Push it in gently until it clicks into place.

Step 2

Placing The Dashcam

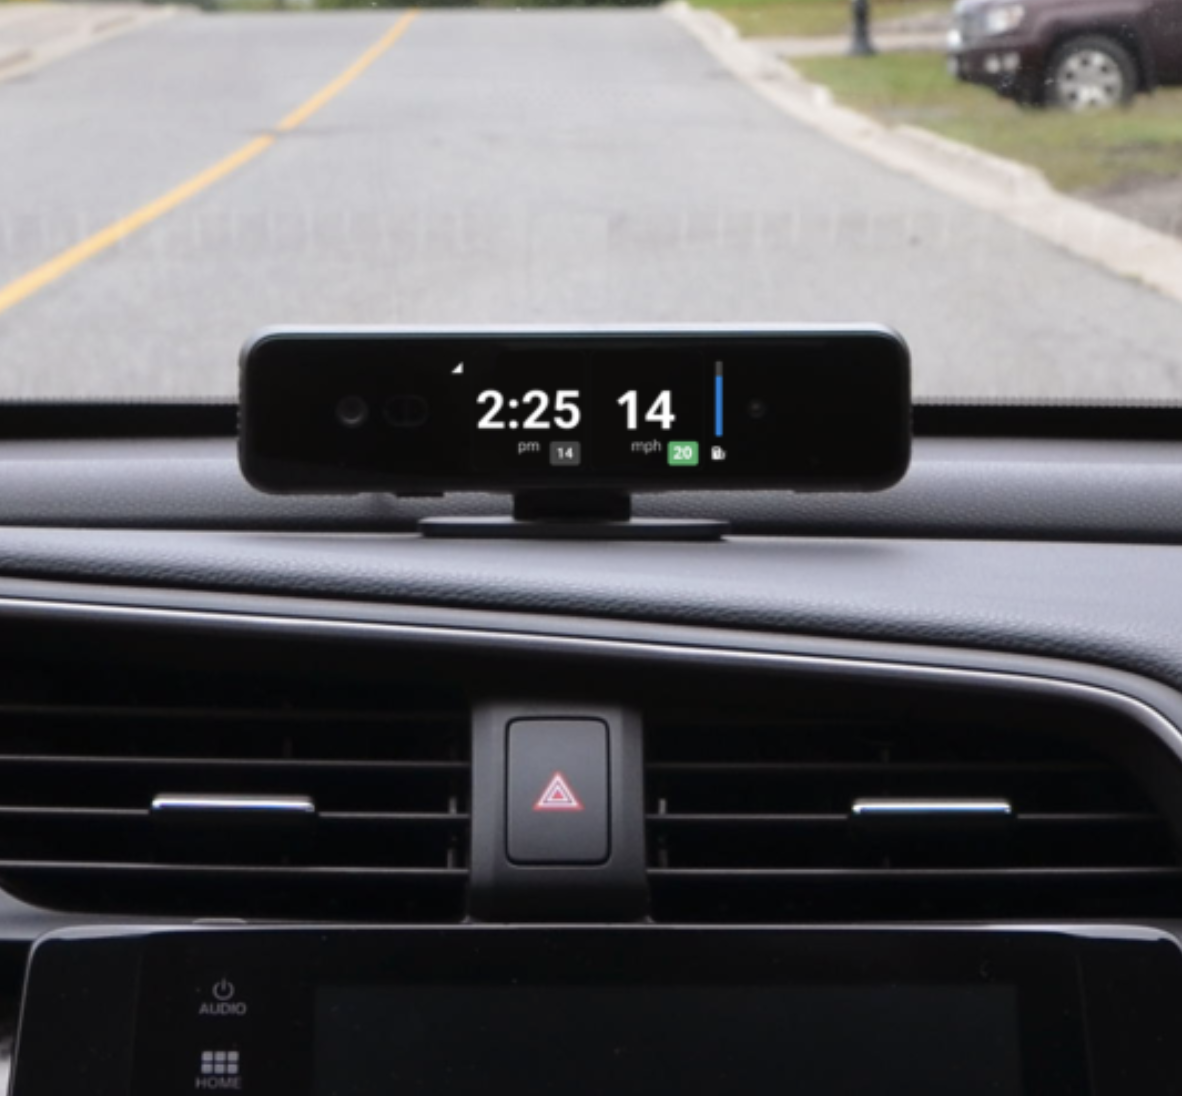
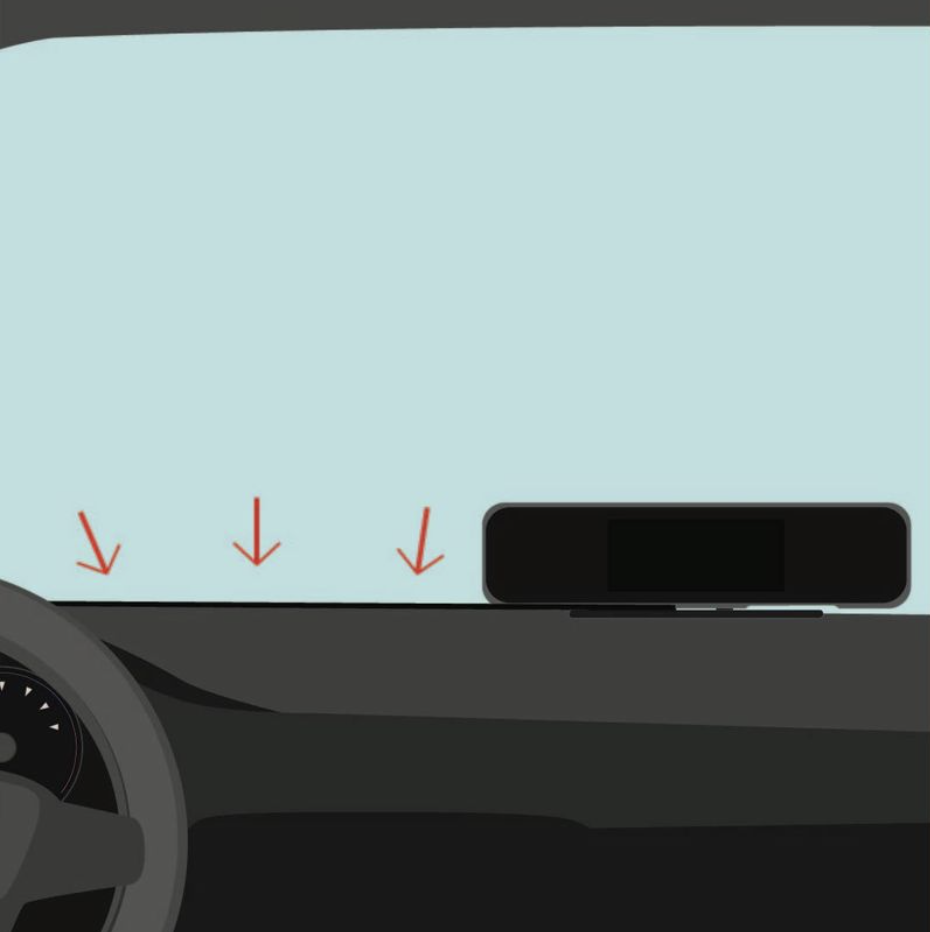
Now, find a place on the center of dashboard, or alternatively on the windshield, where the camera will have an unobstructed view of both the road and the cabin. At this point, you’re just finding the best spot. Don’t do anything else yet!

Step 3

Cable Installation

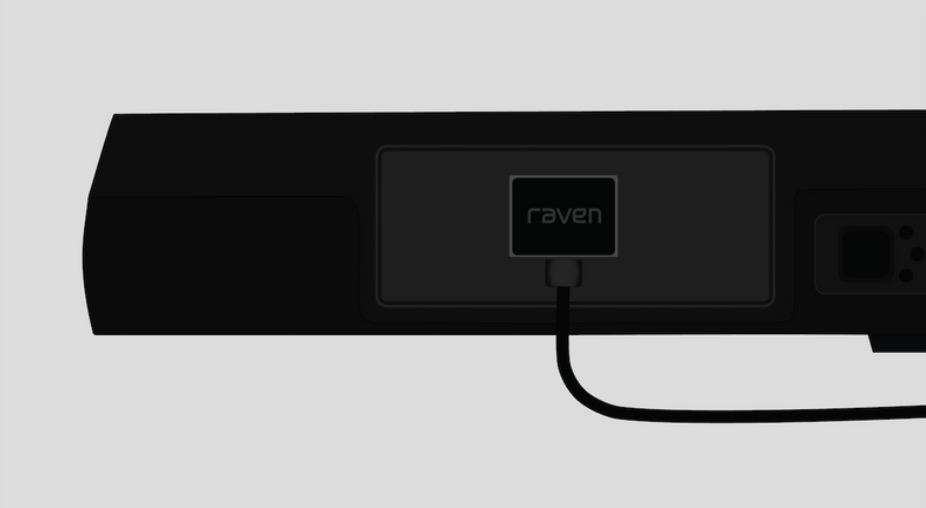
Take the OBD-II cable and attach the end with the L-shaped connector to the bottom of the camera. Plug the other end into the vehicle’s OBD-II port. 

Step 4

Check The Placement

Don’t tuck away the cable yet – but ensure that you can safely clip or tuck away any slack in the cable from the position you chose. Don’t leave any cable dangling near the driver!

If you cannot safely reach the OBD-II port, you may need to move the mount towards the driver’s side of the dash to allow the cable to be attached.

Step 5

Mounting The Bracket

  1. Open the alcohol wipe packet and gently wipe down the area where you intend to put the mount. Let the area dry (the alcohol will evaporate in a minute or so).
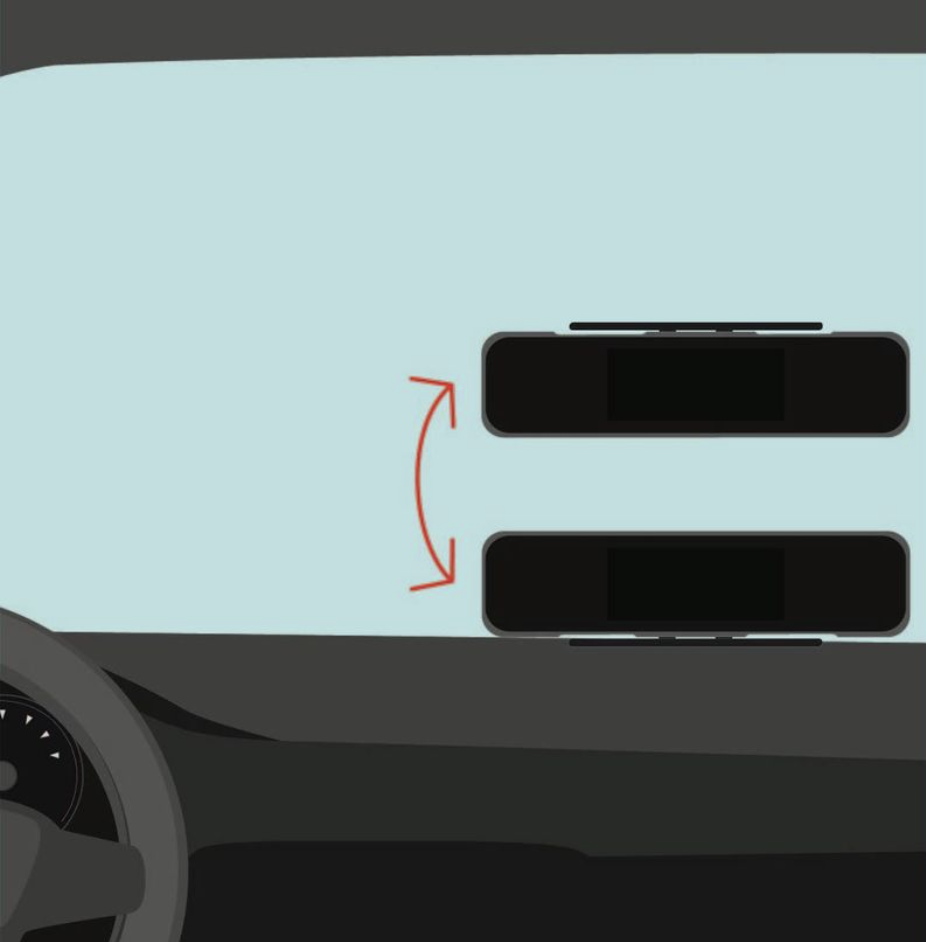
  2. If you are mounting to the window, place the mount so that the BOTTOM of the camera (where the SD card goes) will point upwards. It may seem as though you are installing it upside down, but the display will automatically flip vertically.
  3. Remove the adhesive on the bottom of the mount, push firmly and hold down briefly to securely affix it.
  4. Remove the protective film from the camera.
  5. Clip the bottom of the camera into the bracket.
  6. Use the large mounting screw (with the plastic knob) to attach the camera to the mount from the back.
  7. Adjust the angle of the camera so that it gets the best view of the road, and then use the allen key to tighten the hinge.
  8. Tuck away any loose cabling, using the clips if needed.

Start your vehicle and wait for the boot-up screen. You should now be ready to start driving!